Back at the Temple of the King of the Seas, your spectral sword will allow you this time to easily eliminate the guardians by hitting them in the back. By killing all the guards on the same floor, you will then obtain many chests containing large rupees and other ship parts. It is therefore advisable for the bravest to resume the ascent of the temple from its beginning in order to be able to recover everything. For the others, you still have the possibility of starting from the 7th basement. The explanations having already been given up to the twelfth basement, we will resume exactly where we left off previously. You will still be able to consult the progress of the floors by referring to the previous chapters (just perform the same actions each time). SS11 & SS12
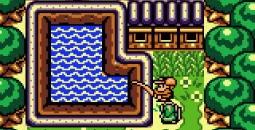
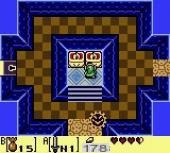
To speed things up, go through the east entrance (picture1), then use the hammer to get out of the enclosure in the twelfth basement (picture2). Don't forget to activate the orb if you want to retrieve the chest on the right which contains a treasure map. Also eliminate the 3 guards to reveal another chest. Finally, carry the three gems in the center and enter through the exit to the north.
1 picture
2 picture
SS13
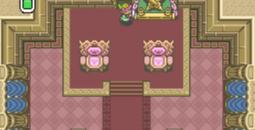
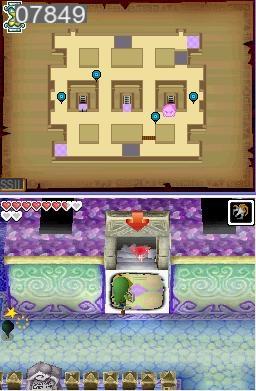
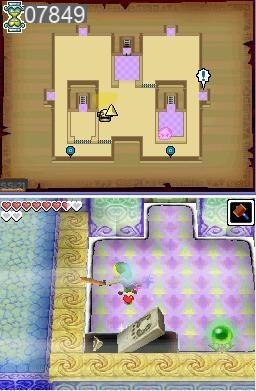
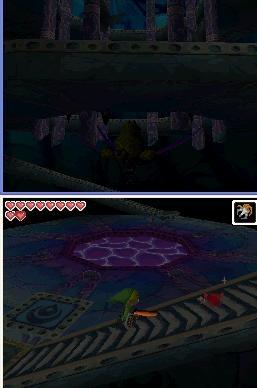
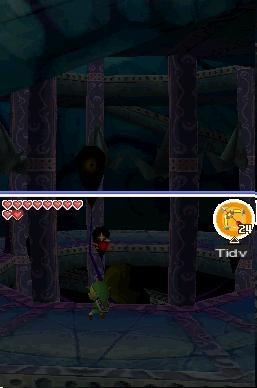
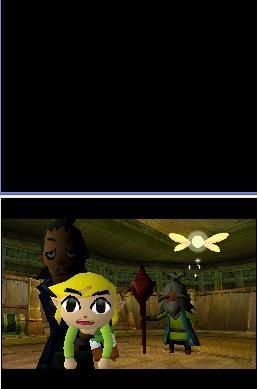
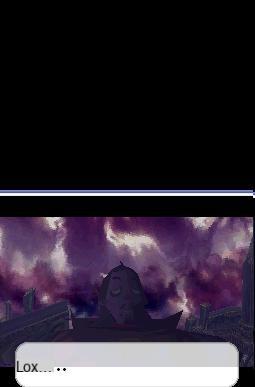
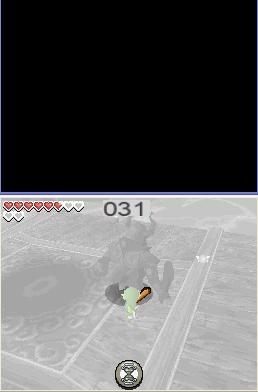
Upon entering the thirteenth and final basement, several specters appear in the lower area. Head towards the combat zone, taking care to take a red jar with you and break it towards the ghosts to take shelter (picture3). Do you then voluntarily identify by your enemies, then hide in the circle. Finally, kick them in the back whenever you get the chance. Several series of guardians will successively appear. Each time, use the same method to get rid of it. When the door opens, fill up on energy with the many jars placed all around the room, then pass it (picture4). Finally, spin down the stairs and prepare to join...the beast...
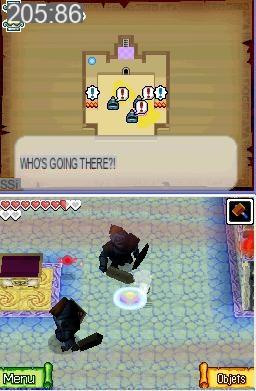
3 picture
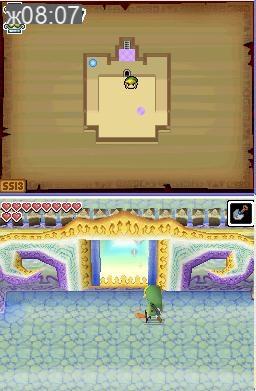
4 picture
Boss Bellum, evil specter
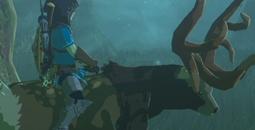
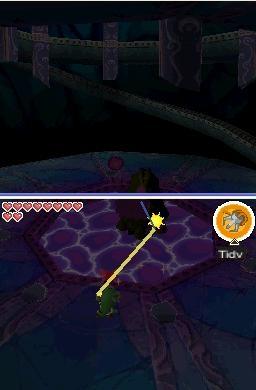
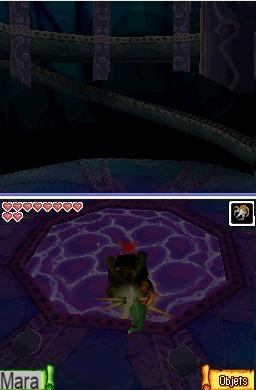
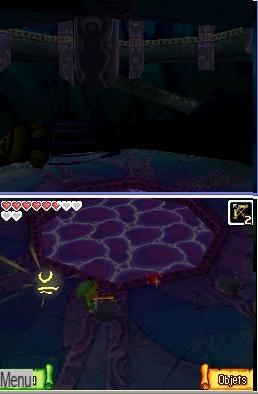
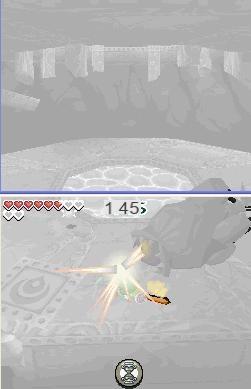
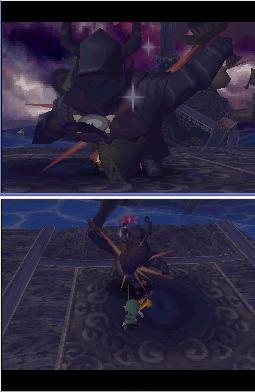
At first, Bellum stays in the center of a pool and calmly sends you several spits that turn into monsters. Dodge those, then smack them with your sword to kill them in one hit. Select the grappling hook in your inventory and then aim for the yellow spongy hooks, placed on the enemy’s body (picture5). Collect them all to end up luring Bellum towards you with a grappling hook. Then take the opportunity to hit his eye with as many sword strokes as possible (picture6). It could be that the enemy is thrown to the other end of the basin under the power of your offensives. Bypass this one in this case to continue your attacks. The monster will then gain the first floor. You will reach it by taking one of the two stairs surrounding the area (picture7). Higher up, this time you will have to take out your bow. Turn around the area to reach Bellum’s tentacles with your arrows (picture8). Dodge his only tentacle left free, then finish the job when he rests it on the stone border. The enemy will then fall back into his pool. Go back down to repeat the whole operation on both floors. Some variations will then be observed: Bellum will send you his minions by 3, and several of them will try to hinder your progress when you climb the stairs. All in all, nothing too bad. The eyes of the tentacles that you will target will not be open all the time, forcing you to adjust your shots and the enemy will take refuge on the third floor under your blows. Take the time to dodge the attacks of your enemy who will then redouble their good will and turn around the room when he tries to flatten you from all his ends.
5 picture
6 picture
7 picture
8 picture
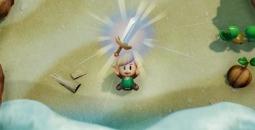
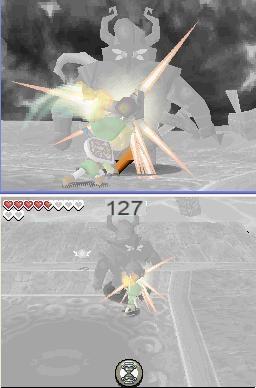
These first two phases completed, a strange green vapor will escape from the mouth of your enemy (picture9). It's actually Ciela's memory. Go back down the two floors to find Bellum in the grip of a fit of hysteria. By stepping on the ground, the access to the stairs will disappear immediately, cutting you off from any retreat. Start by grabbing the orb of light produced by your fairy friend (picture10) in order to benefit from the power to freeze time (only once). To proceed with a "temporary" stop, touch the small hourglass on the screen then draw an 8 on your screen, but keeping the shapes of the hourglass. It is therefore enough for you not to enlarge the angles and to draw from the same curve two triangles connected by their vertex. When you have blocked time, approach Bellum's head to see his gaping eye. Hit it as many times as possible before the countdown stops (picture11). There is no need to stop time when Bellum is in the center of the pool. Wait for him to spin like a fury and stop time as he approaches so as not to waste too much time joining him. Proceed in the same way until the enemy begins to tire. The Temple will then collapse on itself and Link will be repatriated in extremis to Grandpa (picture12). Tetra comes to, but gets kidnapped again. This is what happens when you don't finish your job properly...
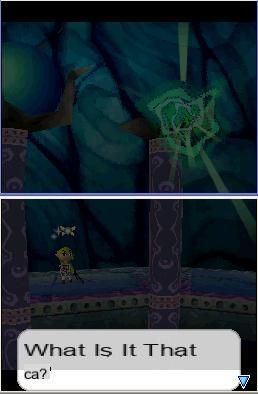
9 picture
10 picture
11 picture
12 picture
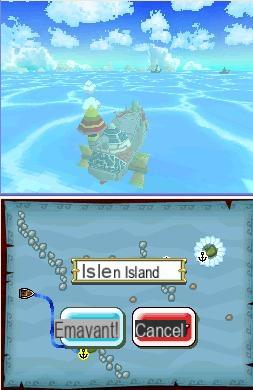
A pursuit at sea will therefore follow this interlude and its short but nevertheless warm reunion. Linebeck will take care of the navigation as usual and you will only have to take care of the handling of the barrel. Aim for the many eyes appearing on the hull of the ghost ship (picture13), then shoot at the attacks sent by the enemy so as not to sink very quickly into the depths. When you see the tentacles on the deck of the boat, aim for them first. Redouble your efforts and exercise patience to darken the enemy. Choose to save when prompted. You will then approach the ghost ship (picture14).
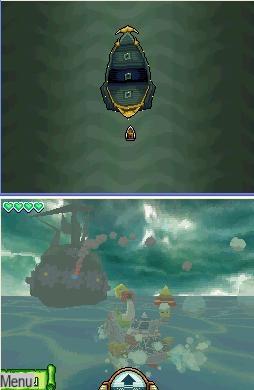
13 picture
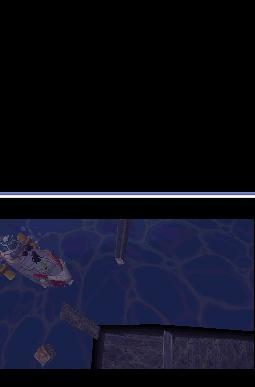
14 picture
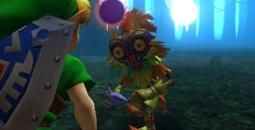
During this last part of the fight, Bellum will take possession of Linebeck’s body to take the form of a knight similar to those encountered in the basement of the Temple of the Seas (picture15). Use the power to stop time to notice that the eye behind your enemy’s back refuses to open (picture16). The upper screen will then reflect the view of the Bellum back, but Ciela will be taken prisoner. Hit your opponent several times in a row and rub on the touch screen to push him back when the time comes. Then strike immediately after (picture17), to make your opponent kneel and thus benefit from a ball of light that will allow you to stop time. Then start circling around Bellum patiently waiting for his eye to open on the back of his back. Then stop time and slip behind the enemy to hit your target several times (picture18). Repeat the operation several times in a row to defeat the monster. During the close combat phases, do not insist if Bellum starts to dodge your blows and rather take your distance to dodge his blade returns. Then return to melee. The enemy may also take the form of a tornado which is particularly difficult to avoid at certain times. In these cases, try to turn around the arena by performing a few saving rolls.
15 picture
16 picture
17 picture
18 picture
Well here you go, with patience and perseverance, you should be able to quickly overcome the End Boss. But this Zelda is not finished for all that, the proof with its many side quests explained in the following paragraphs. Good game !